Assigning Rostering Access Levels
- Kyle Gray (Unlicensed)
- Dan Le (Deactivated)
- Tim Hampton (Unlicensed)
Before users can attempt to manage the rosters for your organisation they must be assigned the correct access levels. Follow the steps below to assign the access levels:
Step-by-step guide
Select
 Operations >
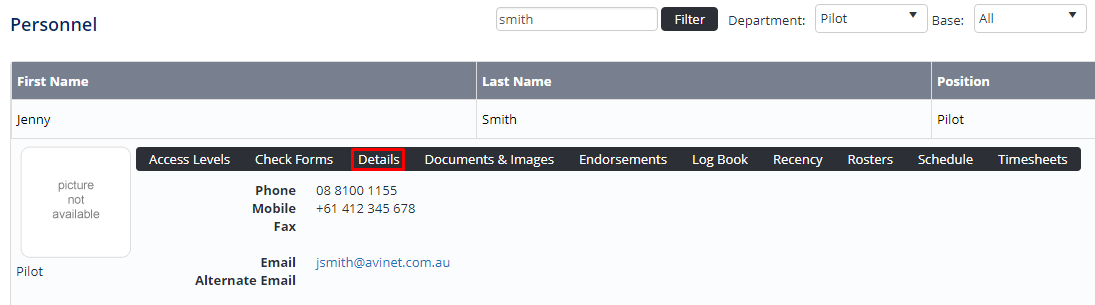
  Personnel. The Personnel screen is displayed.
Filter the Personnel screen according to your requirements.
- Enter filter criteria in the text-box and click
 .
. - Select a value from the Department drop-down list to view personnel located in a particular department.
- Select a value from the Base drop-down list to view personnel located in a particular base location.
- Select the Show In-Active tick box to include personnel that are no longer active in the system. This includes personnel which have ceased employment with your organisation.
- Enter filter criteria in the text-box and click
- Click [Details] to view detailed personnel information. If you do not have the required access level to view personnel details, a warning is displayed.
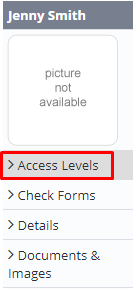
- Select ‘Access Levels’ from the Personnel Profile pane.
Click
 .
.Select all the applicable access levels in the ‘Online Rostering’ group
Access Level
Description
Rosters > Modify Selection
Allows users to modify rosters for selected base/s and department/s.
Rosters > Modify All
Allows users to modify all rosters.
Templates > Modify All
Allows users to create and modify roster templates.
Shift Codes > Modify All
Allows users to create, modify and disable roster shift codes. The shift codes are also utilised in the Timesheet module.
Work Practices > View All
Allows users to view all work practices and associated controls via Operations > Work Practices.
Work Practices > Modify All
Allows users to create, modify and disable work practices and associated controls. The work practices are also utilised in the Timesheet module.
Click
 .
.
Video Guide:
Related articles
Rostering Module Guide: