Rostering Split Shifts
- Kyle Gray (Unlicensed)
- Tim Hampton (Unlicensed)
Step-by-step guide
Select
 Operations >
  Roster. The Online Roster screen is displayed in a new window.
Click Expand [
 ] for the required base location and department.
- Select the Fill tool [
 ] in the Tools pane.
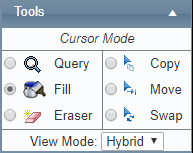
Expand the My Favourites, Duty, Non-Duty, Standby, Leave or Aircraft pane depending on the required shift code.
- Select the required shift code.
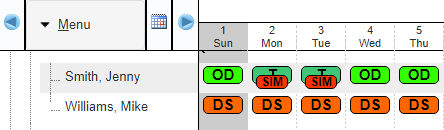
- Hold the Ctrl key on your keyboard, left-click on the required day to add an extra shift; you can have a maximum of three shifts on a single day. In the example below ‘Smith, Jenny’ has split shifts on the 2nd and the 3rd of October, 2017.
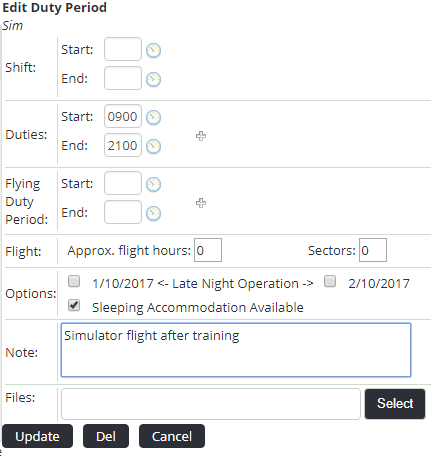
Modify the shift times for the shift code if required.
Select the Query tool [
 ] in the Tools pane.
Left-click on the rostered day.
Enter the reason for the additional shift or any special conditions in the Note field.
Click [X]. The shift is displayed with extra smaller shifts below the primary shift.
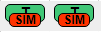
Click [X] to close the dialog box. In the Calendar pane the shift code is displayed with a coloured triangle in the top right corner. The triangle indicates that the shift code contains custom data.
- If you update any shift times or include notes for any shift code, these changes are highlighted to the user when they view My Profile > My Roster in the Changed Duty Periods and Notes panes.
Related articles
Rostering Module Guide: