Apply a Roster Template using Advanced Tools
- Kyle Gray (Unlicensed)
- Tim Hampton (Unlicensed)
Step-by-step guide
- Select
 Operations >
  Roster. The Online Roster screen is displayed in a new window
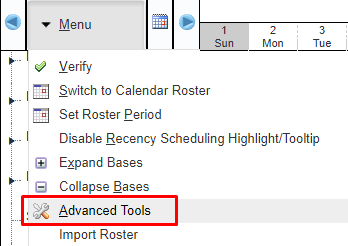
 - Select Menu > Advanced Tools. The Advanced Rostering Tools dialog box and the Advanced Rostering Tool Step 1 (Select Personnel) is displayed.
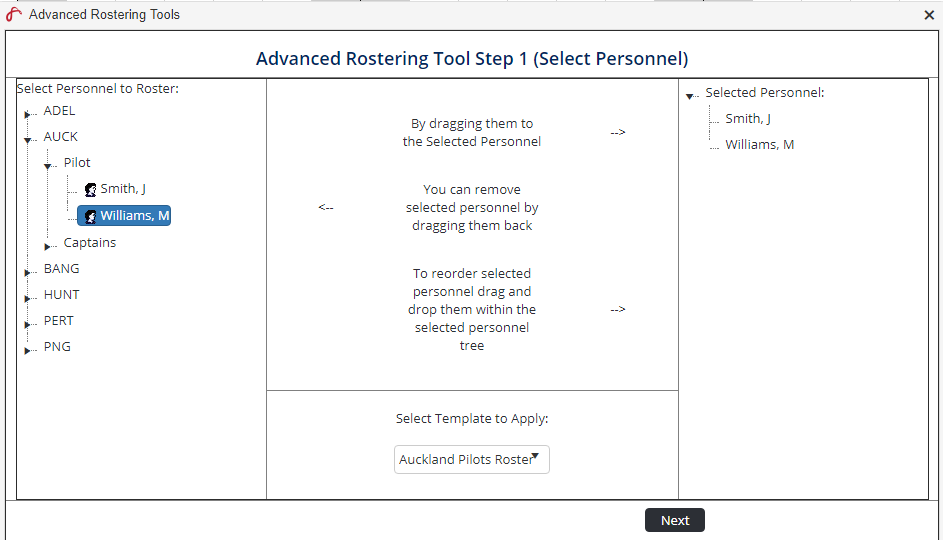
To select an entire department, click on the department name. Select the required personnel whom you wish to apply the template for in the Select Personnel to Roster pane.
Drag the selected personnel to the Selected Personnel tree.
Sort the order of personnel in the Selected Personnel tree if required.
Select the required template you wish to apply from the Select Template to Apply drop-down list.
Click
 . The Advanced Rostering Tool Step 2 (Define Selection) is displayed.
Select the start and end date you wish to apply the template from the Select Start Date and Select End Date calendars.
A preview of the roster is displayed in the Preview pane.
Click
. The Advanced Rostering Tool Step 3 (Setup Repeat Rules) is displayed. Note: If you click
 then the following step is skipped and the template is applied to the roster.
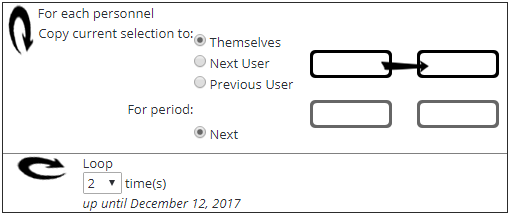
Select the applicable copy option from the Copy current selection to radio buttons.
Option
Description
Themselves
Copy the defined template period from Step 2 to the current user for the next period.
Next User
Copy the current user’s defined template period from Step 2 to the next user in the roster for the next period. This option is used in rolling rosters.
Previous User
Copy the current user’s defined template period from Step 2 to the previous user in the roster for the next period. This option is used in rolling rosters.
Select the number of times the template must be applied to the selected personnel in the Loop drop-down list
Click
 . The selected template is applied to the selected personnel.
Related articles
Rostering Module Guide: