Assigning Recency Access Levels
- Kyle Gray (Unlicensed)
- Dan Le (Deactivated)
- Tim Hampton (Unlicensed)
Before users can attempt to manage recency and currency, they must be assigned the correct access levels. Follow the steps below to assign the access levels:
Step-by-step guide
Select
 Operations >
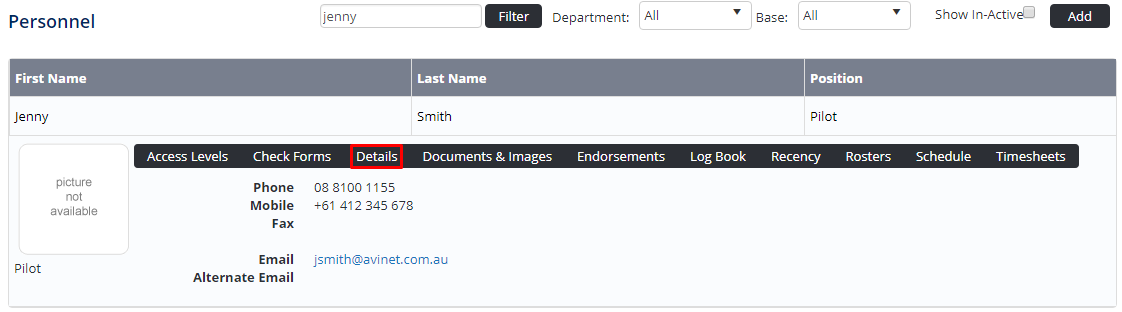
  Personnel. The Personnel screen is displayed.
Filter the Personnel screen according to your requirements.
- Enter filter criteria in the text-box and click [Filter].
- Select a value from the Department drop-down list to view personnel located in a particular department.
- Select a value from the Base drop-down list to view personnel located in a particular base location.
- Select the Show In-Active tick box to include personnel that are no longer active in the system. This includes personnel which have ceased employment with your organisation.
Click [Details] to view detailed personnel information. If you do not have the required access level to view personnel details, a warning is displayed.
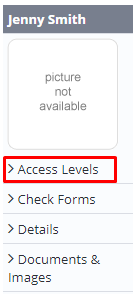
Select ‘Access Levels’ from the Personnel Profile pane.
Click
 .
.Select all the applicable access levels in the ‘Personnel Manage’ and ‘Recency Management’ groups.
Access Level
Description
Personnel Management > Personnel Recency > View Self
Allows users to view their own recency details via My Profile > My Recency.
Personnel Management > Personnel Recency > View Selection
Allows users to view the recency details for personnel in selected departments and bases.
Personnel Management > Personnel Recency > View All
Allows users to view the recency details for personnel in all departments and bases.
Personnel Management > Personnel Recency > Modify Selection
Allows users to update the recency details for personnel in selected departments and bases.
Personnel Management > Personnel Recency > Modify All
Allows users to update the recency details for personnel in all departments and bases.
Recency Management > Recency > Modify Selection
Allows users to setup, edit and disable recency items for selected departments.
Recency Management > Recency > Modify All
Allows users to setup, edit and disable recency items for all departments.
Recency Management > Company Recency > View All
Allows users to view company recency items.
Recency Management > Company Recency > Modify All
Allows users to create, edit, disable and update company recency items.
Aircraft Register > Aircraft > Modify All
Allows users to update aircraft recency dates.
Click
 .
.
Video Guide:
Related articles
Recency Module Guide: