Creating a Global Report
- Kyle Gray (Unlicensed)
- Dan Le (Deactivated)
Step-by-step guide
- Select
 Reporting. The GlobalReporting screen is displayed.
 - Click
 . The Reporting Wizard (Step 1 of 5): Report Area & Type screen is displayed.
 Complete the required fields as per below.
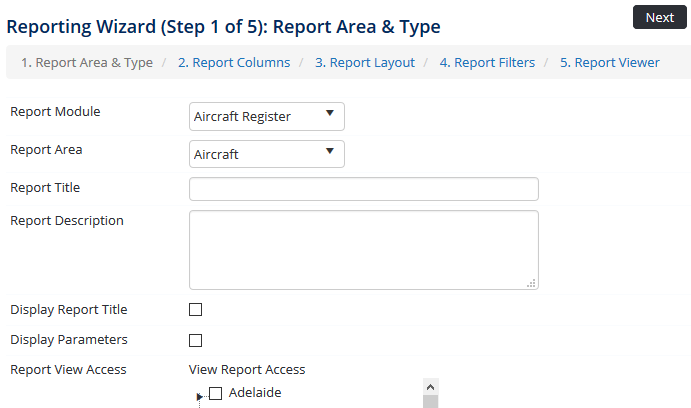
Field
Description
Report Module
Select the applicable module you wish to report on.
Report Area
Select the applicable area within the module you wish to report on.
Report Title
Enter a title for the report.
Report Description
Enter a description for the report.
Display Report Title
Select the tick box to display the report title in the report output.
Display Parameters
Select the tick box to display the report parameters (Date Period etc.) in the report output.
Report View Access
Assign the personnel who can access the report.
Click
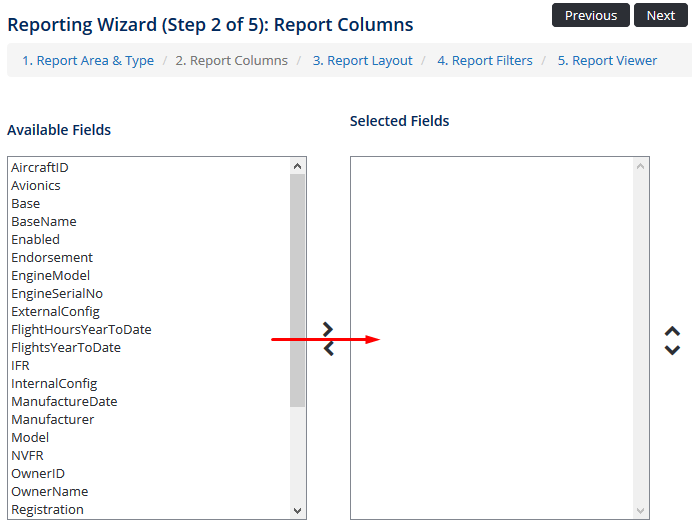
 . The Reporting Wizard (Step 2 of 5): Report Columns screen is displayed.
Move the required fields from the AvailableFields to the SelectedFields pane. Use the arrows to change the field placement in the report.
Click
 to group the report output by a selected field.
Click ‘Group 1’ in the Grouping pane.
Click

Select the field to group the report by and click insert
 . In the example below, the report output will be grouped into each base. You can create multiple groupings if required. For example, a report may firstly be grouped by a base location and secondly by the departments within that base location.
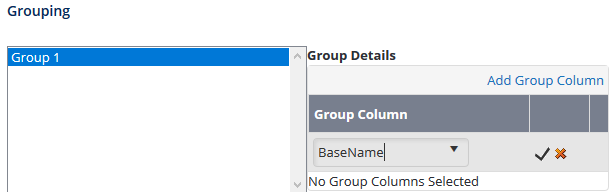
Click

Select the sort order for the report and click insert [
 ]. In the example below, the report output will be sorted in ascending, alphabetical order by each base.
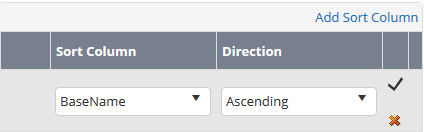
Click
 . The Reporting Wizard (Step 3 of 5): Report Layout screen is displayed.
Select the required layout and formatting options in the ReportColumns pane.

For example:
- To rename a column title, right-click the column title and select EditLabel.
- To specify a font style (size, colour, bold, italics) right-click on a column and select Style > Font > <required option>.
- To include the name of the group in the resulting report, right-click in the Group Header 1 row and select Set Group Label > <required option>. This option is only available if you have included a group in Step 2 of the Reporting Wizard.
- To calculate values in certain columns, right-click in the Group Footer or Report Footer row for the required column and select Calculate > <required option>.
- To hide the contents of the report and only include the report headers and footers, right-click in the Report Body row and select Hide Details Row. This option is particularly useful if you have included report totals in the Group and/or Report Footer and only wish to view a summary of the results and not each individual record.
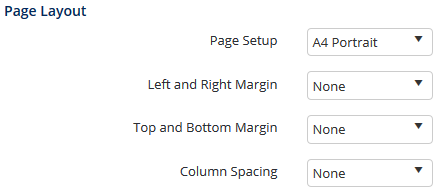
- Select the report page layout in the PageLayout pane.
- Click [Next]. The Reporting Wizard (Step 4 of 5): Report Filters screen is displayed.
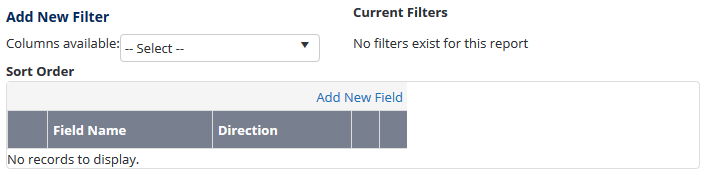
Select the required filter from the drop-down list and complete the filter properties.
 The setup options differ, depending on the selected filter type. In the example below, the report will contain a filter allowing users to only display reports submitted after a particular date. As the ‘1/1/2015’ is selected as a default value, when the report is generated only safety reports submitted after or on this date are displayed. Click [Add] to include the filter in the report.
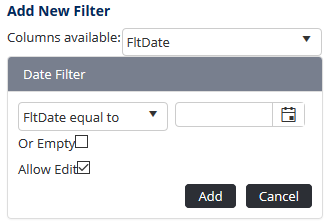 In this report example, the new ‘Rego’ filter will only return data for ‘VH-123’ versus the displaying of all Rego types.
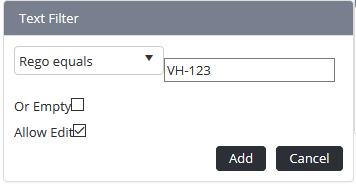
Click
 . The Reporting Wizard (Step 5 of 5): Report Viewer screen is displayed.
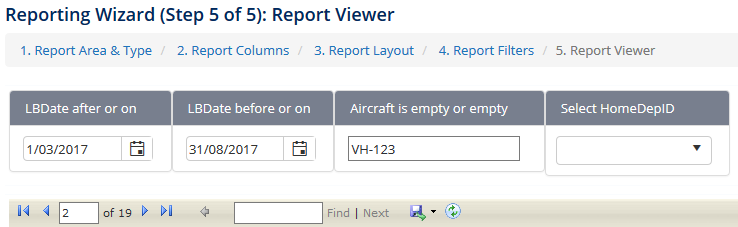
Filter the screen according to your requirements and click [View Report]. Note: If no filters are enabled for this report, the report is automatically displayed.
Use the report viewer toolbar to navigate around the report, search for keywords and export the report.
Field
Description

Click this icon to return to the first page of the report results.

Click this icon to view the previous page of the report results.

Click this icon to view the next page of the report results.

Click this icon to view the last page of the report results.

Enter a keyword into the text box and click Find then Next (optional) to cycle through results.

Click this icon to export the report results to Excel, PDF or Word.

Click this icon to refresh the report results. Use this icon when you change any values in the filters.
Video Guide:
Related articles