...
- Select
 Setup> Select Form Options under Forms. The Form Options screen is displayed.
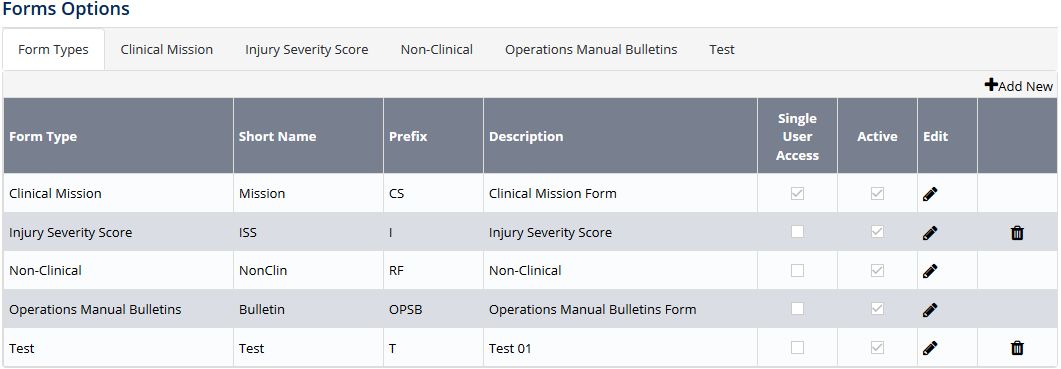
Select the FormTypes tab. All the current form types are listed in the grid.
Click

Complete the form type details as required.
Field
Description
Form Type
Enter the name for the form type. E.g. ‘Travel Request’.
Short Name
Enter the short name for the form type. E.g. ‘Travel’.
Prefix
Enter the prefix for the form type. E.g. ‘T’.
Description
Enter the description for the form type. E.g. ‘An employee travel request form that is required to be completed prior to all company related trips’.
Single User Access
Enabling this setting with restrict the editing access of a form instance to one user at a time.
Other users who try to access a form that is currently locked will view it in 'Read-Only' mode.
Active
Select whether the form type is active. If this tick box is unselected, the form type will be inactive and unusable.
Click
 . The grid is updated with the new form type.
 If any of the default form types do not apply to your organisation, you can disable them by clicking
 and unselecting the Active tick box, followed by clicking
 Repeat Steps 3-5 to add additional form types.
Video Guide:
| Widget Connector | ||||||
|---|---|---|---|---|---|---|
|
Related articles
| Filter by label (Content by label) | ||||||||||||||||||
|---|---|---|---|---|---|---|---|---|---|---|---|---|---|---|---|---|---|---|
|
...