...
Select
 Operations >
  Company Recency. The Company Recency screen is displayed.
- Click the magnifying glass
 glass [
 ] corresponding with the recency item to update. The Update Recency Item dialog box is displayed. If the item has previously been conducted, a record of the last conducted date, expiry date and the user who updated the item is displayed.
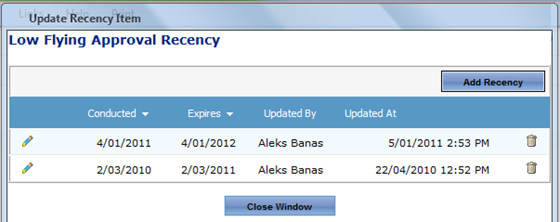
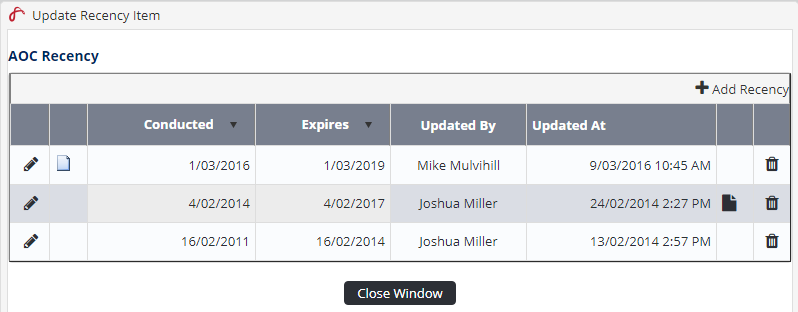
Click [Add Recency]. The Last Conducted, Expires, Comments and File fields are displayed.
Enter the date the recency item was last conducted in the Last Conducted text box.
Click the Recalculate Expiry Date icon to view the new expiry date.
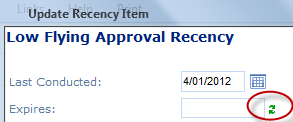
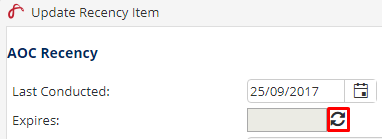
 The new expiry date is calculated based on the rules setup in the Recency Setup area.
Enter any remarks relating to this recency item in the Comments text box.
Click [Select] in the File pane and browse for the file related to this recency item.
Click [Open]. The file name is populated in the File text box.
Click [OK]
 . The recency item is updated with the last conducted date.
Click [Close Window] to
 to return to the Company Recency screen. You are prompted to refresh the screen.
Click [OK] to
 to update the screen with the new expiry date.
...