...
Select the Recency Validation tab.
Start typing the name of the recency requirement in the drop-down list.
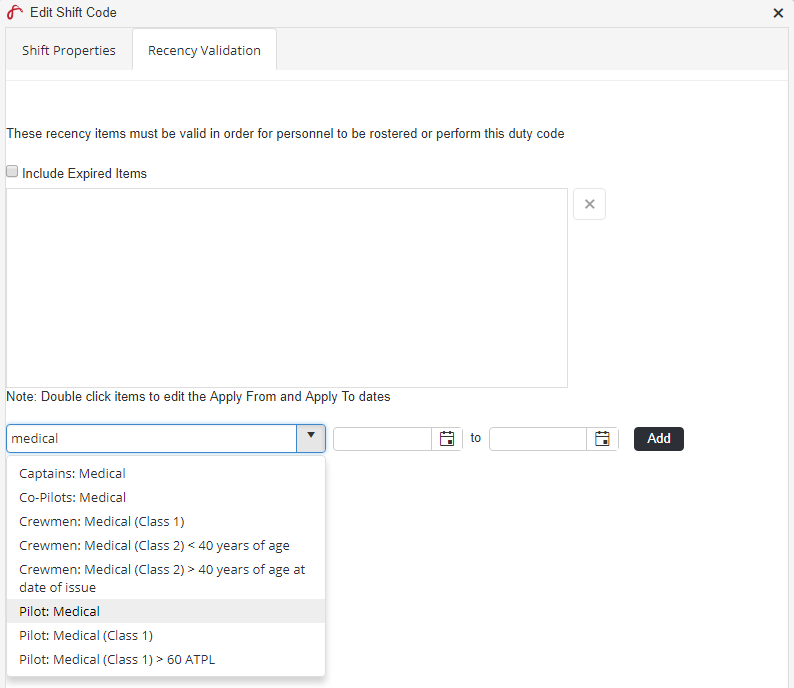
Select the recency requirement from the drop-down list.
Enter the period the recency item applies to the shift code using the date pickers. If the recency item must apply for the shift code for all time, the date fields can remain blank.
Click
 .
.Repeat Steps 5-8 to add additional recency requirements.
Select the Shift Properties tab.
Click Apply Save.
| Info |
|---|
|
Video Guide:
| Widget Connector | ||||||
|---|---|---|---|---|---|---|
|
Related articles
| Filter by label (Content by label) | ||||||||||||||||||
|---|---|---|---|---|---|---|---|---|---|---|---|---|---|---|---|---|---|---|
|
...